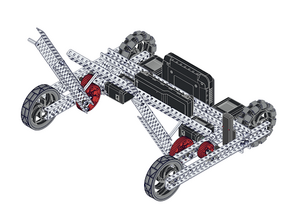
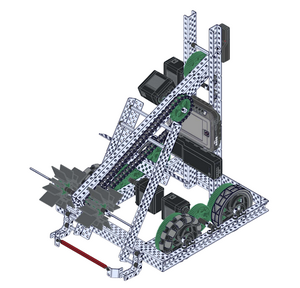
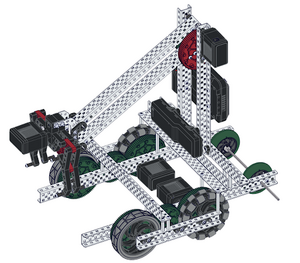
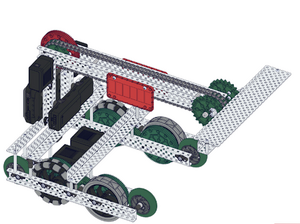
VEX Lift & Claw Design Guide
From EG1004 Lab Manual
Introduction
General Design Considerations:
- The course itself - Are the paths that the robot has to travel on wide or narrow? Is it mostly smooth or is it rough?
- Tasks the robot must complete - Does the robot have to grab something, if so what are the heights that it needs to be able to reach? Does the robot have to hold something, if so what is the size of that object? aka reading up on the SLDP
- Available parts - Do I have access to the parts that I would need to make the robot? Is there a limit on how many sensors or motors I’m allowed to use?
- Starting configuration / size limit - Is there a restriction on how large the robot can be?
- Complexity - Sometimes the most simple idea is the greatest plan of action.
General Tips:
- Start Early; it’s better to finish early rather than late, especially if things don’t end up working as originally planned
- Teamwork makes the dream work
- Create a draft (or a few) of the robot; doesn’t have to be perfect, as long as you understand what you drew and how it’ll look when built, you are good
- Using Fusion 360 for this step will let you easily visualize it better and give you a headstart in the required CAD drawings of the robot (not necessary but you can also generate simulations of the robot to see how it would perform)
- Don’t be afraid to ask for help! If you get stuck, don't be afraid to talk to a TA.
