Difference between revisions of "Autonomous Underwater Vehicle (AUV)"
(2014-07-04 Navjot Kaur) |
|||
| Line 25: | Line 25: | ||
<h2>SPECIFICATIONS</h2> | <h2>SPECIFICATIONS</h2> | ||
* Design a robot using MLCad/Lego Digital Designer as your primary design tool. | |||
* Build a model of your design using the materials provided. | |||
* Design a Mindstorms program that will direct the robot's movements. | |||
that will direct the robot's movements | * Create a cost estimate of the robot's components. | ||
the robot's components | * All revisions to the original design must be recorded and explained this includes technical design drawings, as well as cost estimates. | ||
must be recorded and explained this includes technical design drawings, as | * All revisions to the Mindstorms program must be recorded and explained. | ||
well as cost estimates. All revisions to the Mindstorms program must be recorded | |||
and explained. | |||
<p>The AUV must be able to navigate autonomously around the test tank. | <p>The AUV must be able to navigate autonomously around the test tank. | ||
| Line 161: | Line 159: | ||
receive extra credit.</p> | receive extra credit.</p> | ||
{{SLDP: Microsoft Project}} | |||
<h3>DRAWINGS</h3> | <h3>DRAWINGS</h3> | ||
All drawings and sketches should be made using '''MLCad''' or '''Lego Digital Designer'''. | |||
Create four drawings of your robot: front, top, most detailed side, and a drawing of your gear trains. Sensors, motors, and gears must be included in each drawing. '''If your robot does not use any gears, make sure to explicitly state that during your presentations.''' | |||
front, top, most detailed side, and a drawing of your gear trains. Sensors, | |||
motors, and gears must be included in each drawing. | |||
robot | |||
Each revision of your design must be documented and all changes must be presented during milestone presentations.</p> | |||
[[image:Auv9.gif|frame|center|Figure 2: Sample isometric image from MLCad (without part numbers)]] | [[image:Auv9.gif|frame|center|Figure 2: Sample isometric image from MLCad (without part numbers)]] | ||
| Line 205: | Line 177: | ||
<ol> | <ol> | ||
<li>Mindstorms kit</li> | <li>Mindstorms kit</li> | ||
<li>One NXT</li> | <li>One NXT/EV3</li> | ||
<li> | <li>Waterproof Sensors</li> | ||
<li>Motors</li> | <li>Motors</li> | ||
<li> | <li>Waterproof Pelican case</li> | ||
</ol> | </ol> | ||
The finished AUV must fit inside a 1' × 1' × 1' box. Any other components that the AUV uses, such as a tether, must also fit within this box. | |||
<p><b>***Additional weights (ballast) and floatation devices (Styrofoam, air | <p><b>***Additional weights (ballast) and floatation devices (Styrofoam, air | ||
| Line 227: | Line 201: | ||
construction of your design. Tabulate this cost information clearly in an Excel | construction of your design. Tabulate this cost information clearly in an Excel | ||
spreadsheet, using the materials cost list provided. You can get help in | spreadsheet, using the materials cost list provided. You can get help in | ||
calculating the cost by reviewing | calculating the cost by reviewing [[How to plan the schedule and calculate costs for a project]]. The costs | ||
[ | for the parts can be found on the [[Media:Legoprice.pdf|Price list for Lego parts for robot projects]].</p> | ||
for the parts can be found on the | |||
<p><b>Note: You should only use the materials contained in the | <p><b>Note: You should only use the materials contained in the | ||
| Line 239: | Line 209: | ||
to use that are not in this price list.</b></p> | to use that are not in this price list.</b></p> | ||
Create a cost estimate on a Microsoft Excel spreadsheet. The cost estimate should include the following: | |||
* Labor cost breakdown with labor hours and labor rates. | |||
* Consolidate low-cost pieces: axles, beams, bricks, bushings, connectors, gears, plates, etc. | |||
* Itemize high-cost pieces: controllers (NXT/EV3), sensors, etc. | |||
* No decimal places; this is an estimate after all. Round appropriately. | |||
in the | * Total cost must be shown in the bottom right corner. | ||
<h3>MILESTONES</h3> | <h3>MILESTONES AND BENCHMARKS</h3> | ||
<p>As you work on your project, you will be required to present periodic reports | <p>As you work on your project, you will be required to present periodic reports | ||
| Line 253: | Line 222: | ||
Milestone are called deliverables. These deliverables often consist of a | Milestone are called deliverables. These deliverables often consist of a | ||
combination of written submissions, presentations, and demonstrations.</p> | combination of written submissions, presentations, and demonstrations.</p> | ||
<h4>Milestone 1</h4> | <h4>Milestone 1</h4> | ||
| Line 270: | Line 231: | ||
2?</b></p> | 2?</b></p> | ||
<b>Milestone 1 Deliverables:</b> | |||
* Presentation: | |||
** Project description | |||
** Design approach | |||
** Mission statement | |||
** Preliminary sketch | |||
** Cost estimate | |||
** MS Project schedule | |||
** Progress update: current state of the project | |||
<p><b><i>Note:</i></b><i> Whenever you revise your drawing(s), your cost | <p><b><i>Note:</i></b><i> Whenever you revise your drawing(s), your cost | ||
| Line 279: | Line 245: | ||
initial cost estimate, or the initial MS Project plan, <b>in addition to</b> the | initial cost estimate, or the initial MS Project plan, <b>in addition to</b> the | ||
revision.</i></p> | revision.</i></p> | ||
==== Benchmark Assessment A ==== | |||
Benchmark assessments evaluate the progress of your project. To pass, the design must complete all of the following: | |||
* Earn at least 25 points. | |||
'''Benchmark Assessment A is due at the end of Model Shop Session 1.''' There are penalties for not completing on time. Refer to the [[EG1003 Grading Policy]] for more information. | |||
<h4>Milestone 2</h4> | <h4>Milestone 2</h4> | ||
<p>Using MLCad, prepare four views of your | <p>Using MLCad or Lego Digital Designer, prepare four views of your | ||
latest design: front, top, most detailed side, and an isometric drawing. | latest design: front, top, most detailed side, and an isometric drawing. Also, create | ||
a drawing of your gear trains. Complete your latest Mindstorms program and | |||
your latest MS Project plan reflecting any schedule changes. Finally, calculate | your latest MS Project plan reflecting any schedule changes. Finally, calculate | ||
a revised cost estimate. | a revised cost estimate. | ||
<p><b><i>Look Ahead:</i></b><i> What tasks do you plan between now and Milestone | <p><b><i>Look Ahead:</i></b><i> What tasks do you plan between now and Milestone | ||
3?</i></p> | 3?</i></p> | ||
<b>Milestone 2 Deliverables:</b> | |||
* Presentation: | |||
side, | ** Project description | ||
Mindstorms program | ** Design approach | ||
** Design changes since Milestone 1 | |||
** Mission statement | |||
** CAD drawings: top, front, most detailed side, isometric, gear train | |||
** Mindstorms program | |||
** Cost estimate (previous and current). What changes were made? | |||
** MS Project schedule (previous and current). What changes were made? | |||
** Progress update: current state of the project (time, budget, etc.) | |||
==== Benchmark Assessment B ==== | |||
To pass, the design must complete all of the following: | |||
* Earn at least 60 points. | |||
'''Benchmark Assessment B is due at the end of Model Shop Session 2.''' There are penalties for not completing on time. Refer to the [[EG1003 Grading Policy]] for more information. | |||
<h4>Milestone 3</h4> | <h4>Milestone 3</h4> | ||
| Line 324: | Line 300: | ||
initial cost estimate, or the initial MS Project plan, <b>in addition to</b> the | initial cost estimate, or the initial MS Project plan, <b>in addition to</b> the | ||
revision.</i></p> | revision.</i></p> | ||
=== Commissioning === | |||
To pass, the design must complete all of the following: | |||
* Earn at least 100 points. | |||
Refer to the syllabus for the commissioning deadline. There are penalties for not completing on time. Refer to the [[EG1003 Grading Policy]] for more information. | |||
<h3>FINAL PRESENTATION</h3> | <h3>FINAL PRESENTATION</h3> | ||
The final presentation will be a technical briefing, similar to the milestones, but also serves as a sales presentation explaining why your company should be selected instead of the competition. Please include the following: | |||
final presentation will be | * Problem statement | ||
* Solution overview | |||
* Company description and qualifications | |||
* Drawings | |||
* Mindstorms program | |||
* Cost estimate | |||
* Microsoft Project schedule | |||
* Video demonstration | |||
* Why should the company be awarded this contract? | |||
<h3>FINAL SUBMISSION</h3> | <h3>FINAL SUBMISSION</h3> | ||
| Line 340: | Line 323: | ||
<ul> | <ul> | ||
<li>Benchmark Assessment A statement | <li>Printout of Benchmark Assessment A statement from [https://eg.poly.edu eg.poly.edu]</li> | ||
<li>Benchmark Assessment B statement | <li>Printout of Benchmark Assessment B statement from [https://eg.poly.edu eg.poly.edu]</li> | ||
<li>Commissioning statement | <li>Printout of Commissioning statement from [https://eg.poly.edu eg.poly.edu]</li> | ||
<li>Hardcopy and CD containing:</li> | <li>Hardcopy and CD/DVD/USB containing:</li> | ||
<ul type="square"> | <ul type="square"> | ||
<li>Final presentation</li> | <li>Final presentation</li> | ||
<li>Cover page and table of | <li>Cover page and table of contents.</li> | ||
<li>Final Mindstorms program</li> | <li>Final Mindstorms program</li> | ||
<li>Initial sketch</li> | <li>Initial sketch</li> | ||
<li>All the drawings of your final | <li>All the drawings of your design (initial through final)</li> | ||
<li>Video</li> | <li>Video</li> | ||
<li>Final MS Project Schedule</li> | <li>Final MS Project Schedule</li> | ||
<li>Final | <li>Final cost estimate</li> | ||
<li>Resume(s)</li | <li>Resume(s) (No fictitious resumes will be accepted.)</li> | ||
</ul> | </ul> | ||
</ul> | </ul> | ||
| Line 362: | Line 342: | ||
<h3>EARLY ACCEPTANCE</h3> | <h3>EARLY ACCEPTANCE</h3> | ||
<p>If you | <p>If you submit your project one week early, you are eligible for a bonus | ||
that will be added to your final semester-long project grade. You must submit | that will be added to your final semester-long project grade. You must submit | ||
all deliverables | all deliverables one week before the submission deadline (see syllabus for exact date). To submit early, all required information on | ||
(see syllabus for exact date). To submit early, all required information on | |||
the form titled [[Media:Early.doc|Project Submission Form]], found on the | the form titled [[Media:Early.doc|Project Submission Form]], found on the | ||
EG web site, must be approved, accepted, and signed by a TA. The deliverables | EG web site, must be approved, accepted, and signed by a TA. The deliverables | ||
| Line 371: | Line 350: | ||
the deliverables submitted will be accepted.</p> | the deliverables submitted will be accepted.</p> | ||
<h3> | <h3>LATE DELIVERY</h3> | ||
<p>If you do not complete all your deliverables and do not commission by the | <p>If you do not complete all your deliverables and do not commission by the deadline set forth in the syllabus, you will not receive full credit for commissioning. Please refer to the [[EG1003 Grading Policy]] for more information. | ||
[[Main_Page | Return to Table of Contents]] | [[Main_Page | Return to Table of Contents]] | ||
Revision as of 11:23, 7 July 2014
RFP*: Autonomous Underwater Vehicle (AUV)
* RFP is an acronym for Request For Proposal. Internationally, RFPs are called ITTs, an acronym for Invitation To Tender governmental agencies use RFPs to solicit new business.
INTRODUCTION AND OVERVIEW
The Space and Naval Warfare Systems Center (SSC) was created to encourage the development of technologies which facilitated the acquisition, transmittal and processing of information for the U.S. Navy.
The SSC has begun work on a new sea lab located, 20 miles off the south coast of New Fronts Ports, Florida. The new facility currently serves as home base for scientists, technicians and engineers charged with the facilities completion. When fully operational the base will serve as a port for naval and marine research. Completion of the new site poses many challenges for those teams assigned to complete construction. It is remote and the weather is brutal.
In order to free up the station's personnel for more important tasks, the SSC has requested a proposal for an autonomous underwater vehicle (AUV) that will be able to perform specific tasks at the sea lab and help speed completion of the project. The winning bid will be the one that is both innovative and cost effective. SCC anticipates using this robot on all its sea labs in the future.
SPECIFICATIONS
- Design a robot using MLCad/Lego Digital Designer as your primary design tool.
- Build a model of your design using the materials provided.
- Design a Mindstorms program that will direct the robot's movements.
- Create a cost estimate of the robot's components.
- All revisions to the original design must be recorded and explained this includes technical design drawings, as well as cost estimates.
- All revisions to the Mindstorms program must be recorded and explained.
The AUV must be able to navigate autonomously around the test tank. The robot must achieve at least 100 points in 5 minutes. The tasks may be selected from the list of tasks below.
The finished AUV must fit inside a 1 foot by 1 foot by 1 foot box. Any other components that the AUV uses, such as a tether, must also fit in the same box with the AUV.
The AUV must start in the starting area. The fish tank is divided into three sections; the starting area is the first section from the left side. The AUV may start anywhere in the starting area, at any depth, facing any direction. The AUV may not be touching any of the field objects during the initial start.
These specifications must be met for final commissioning. Please refer to the course syllabus for all due dates.
AUV FIELD
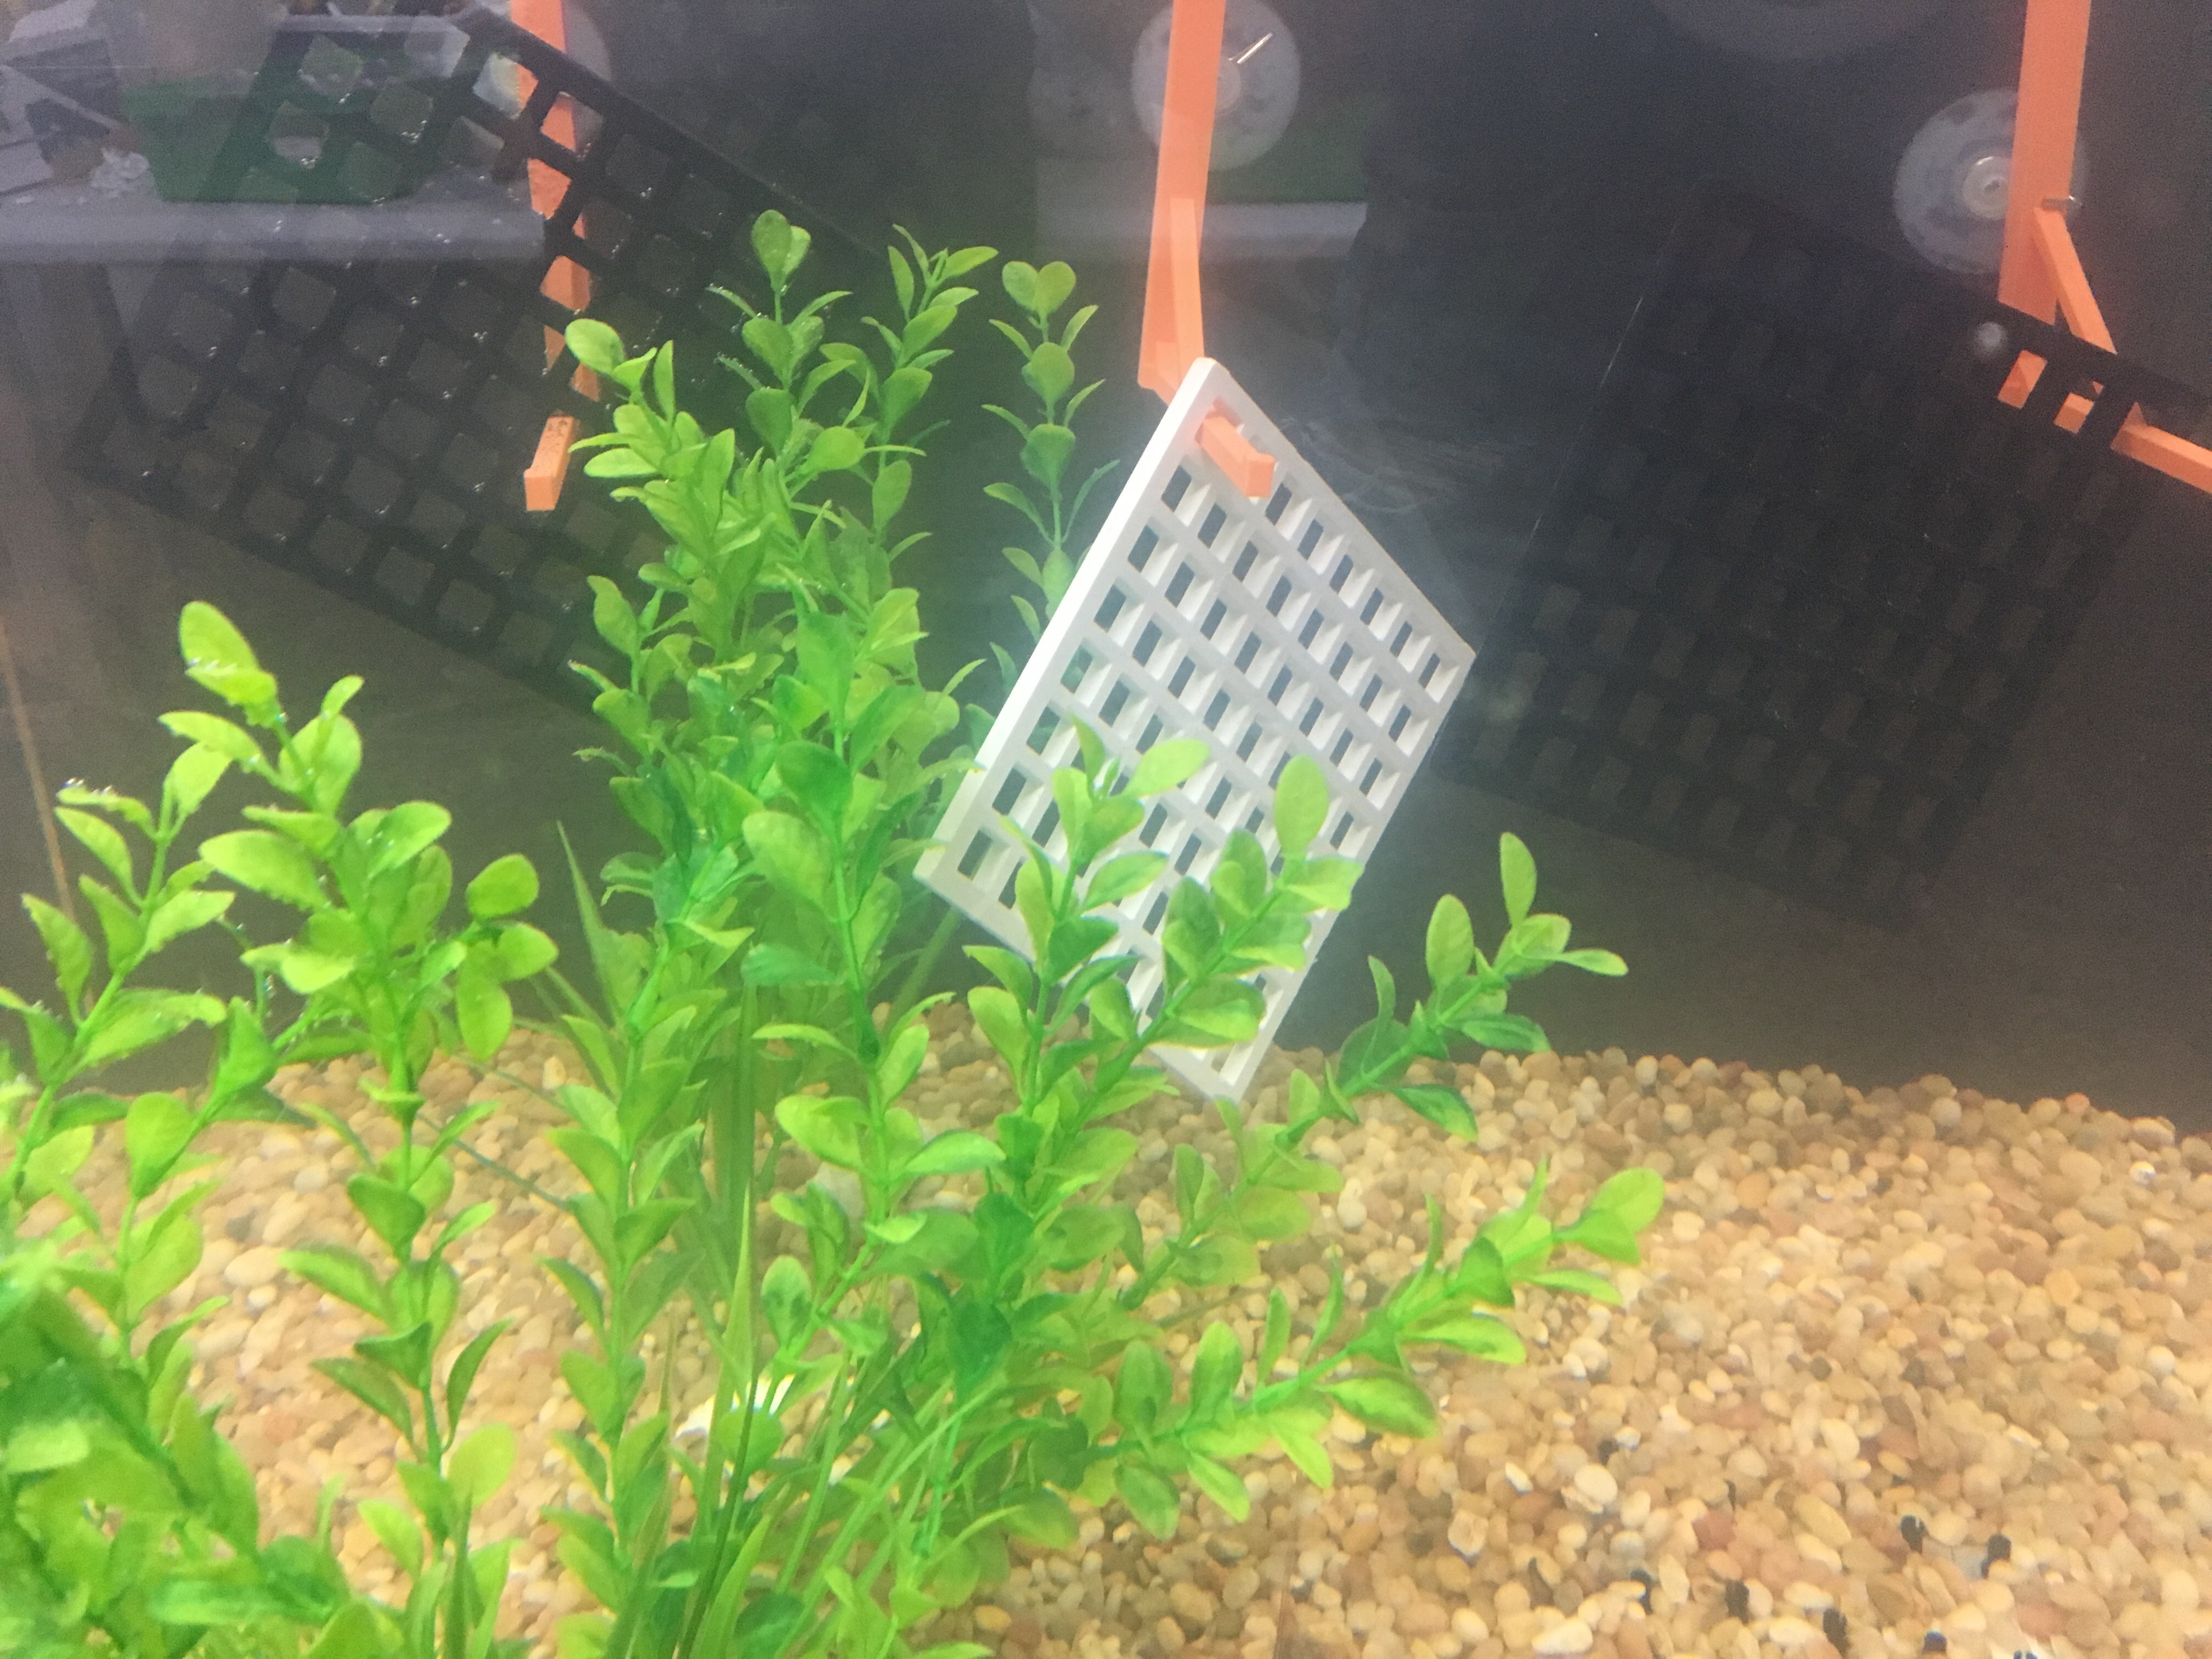
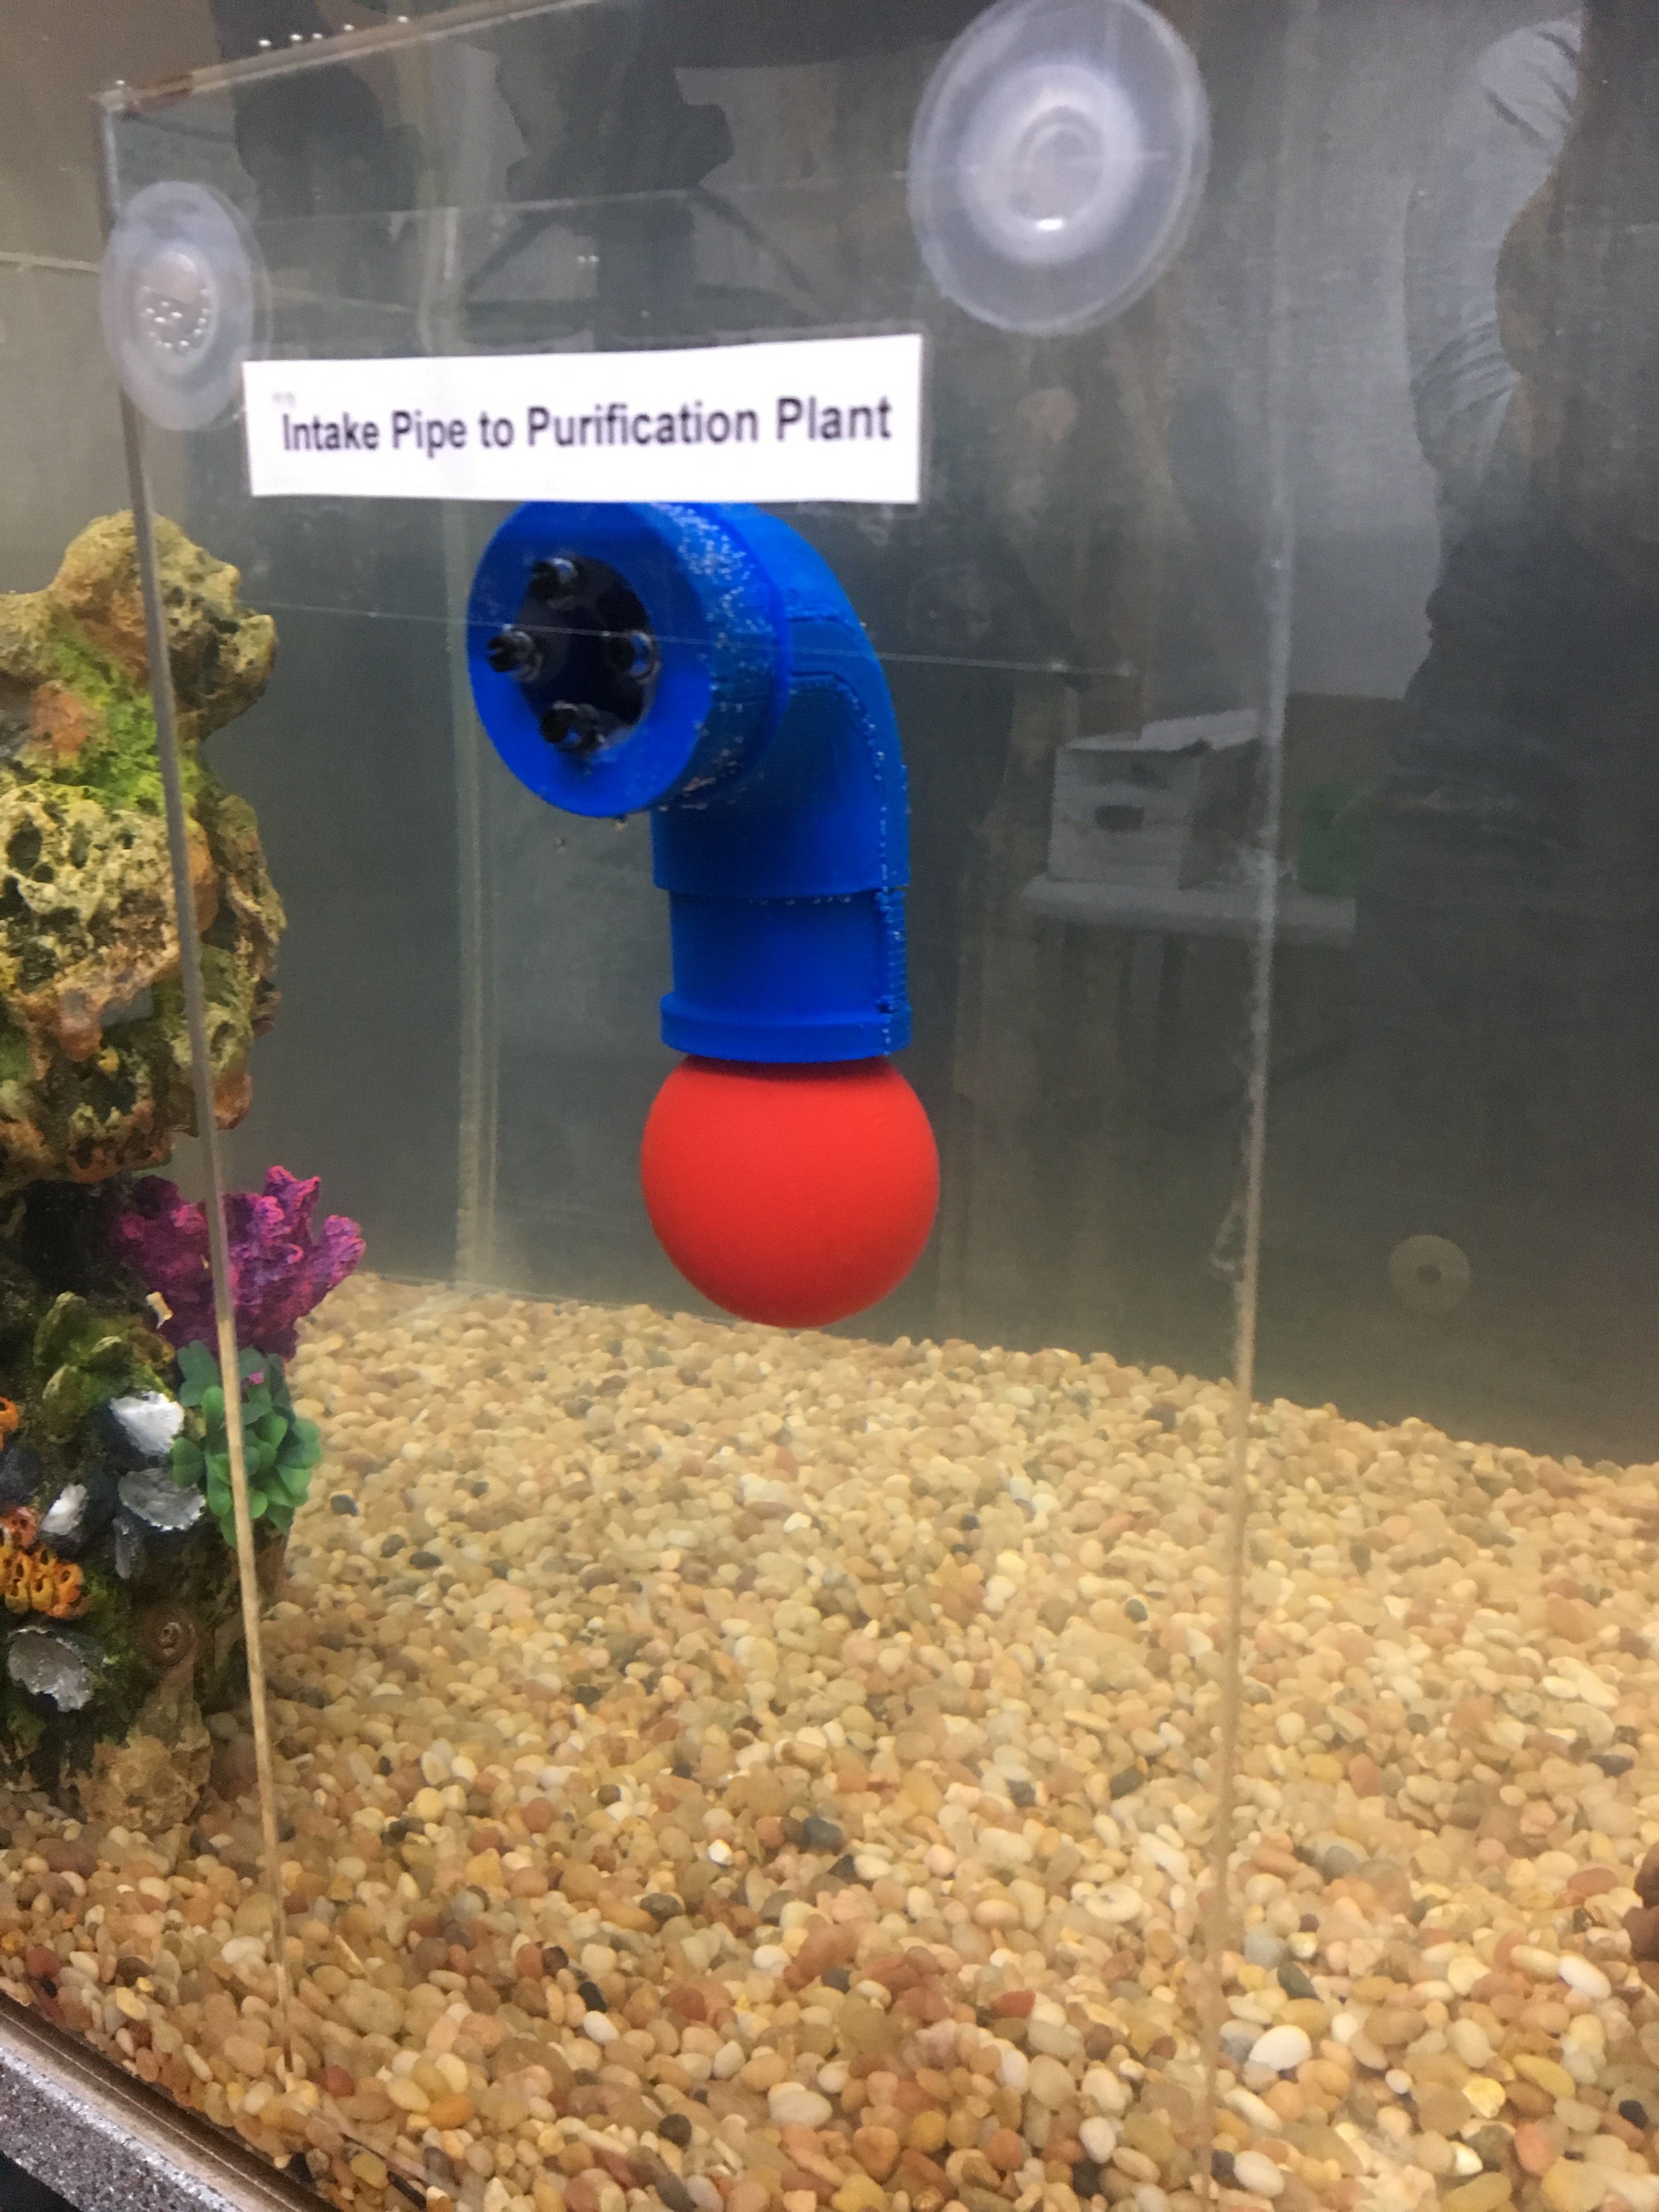
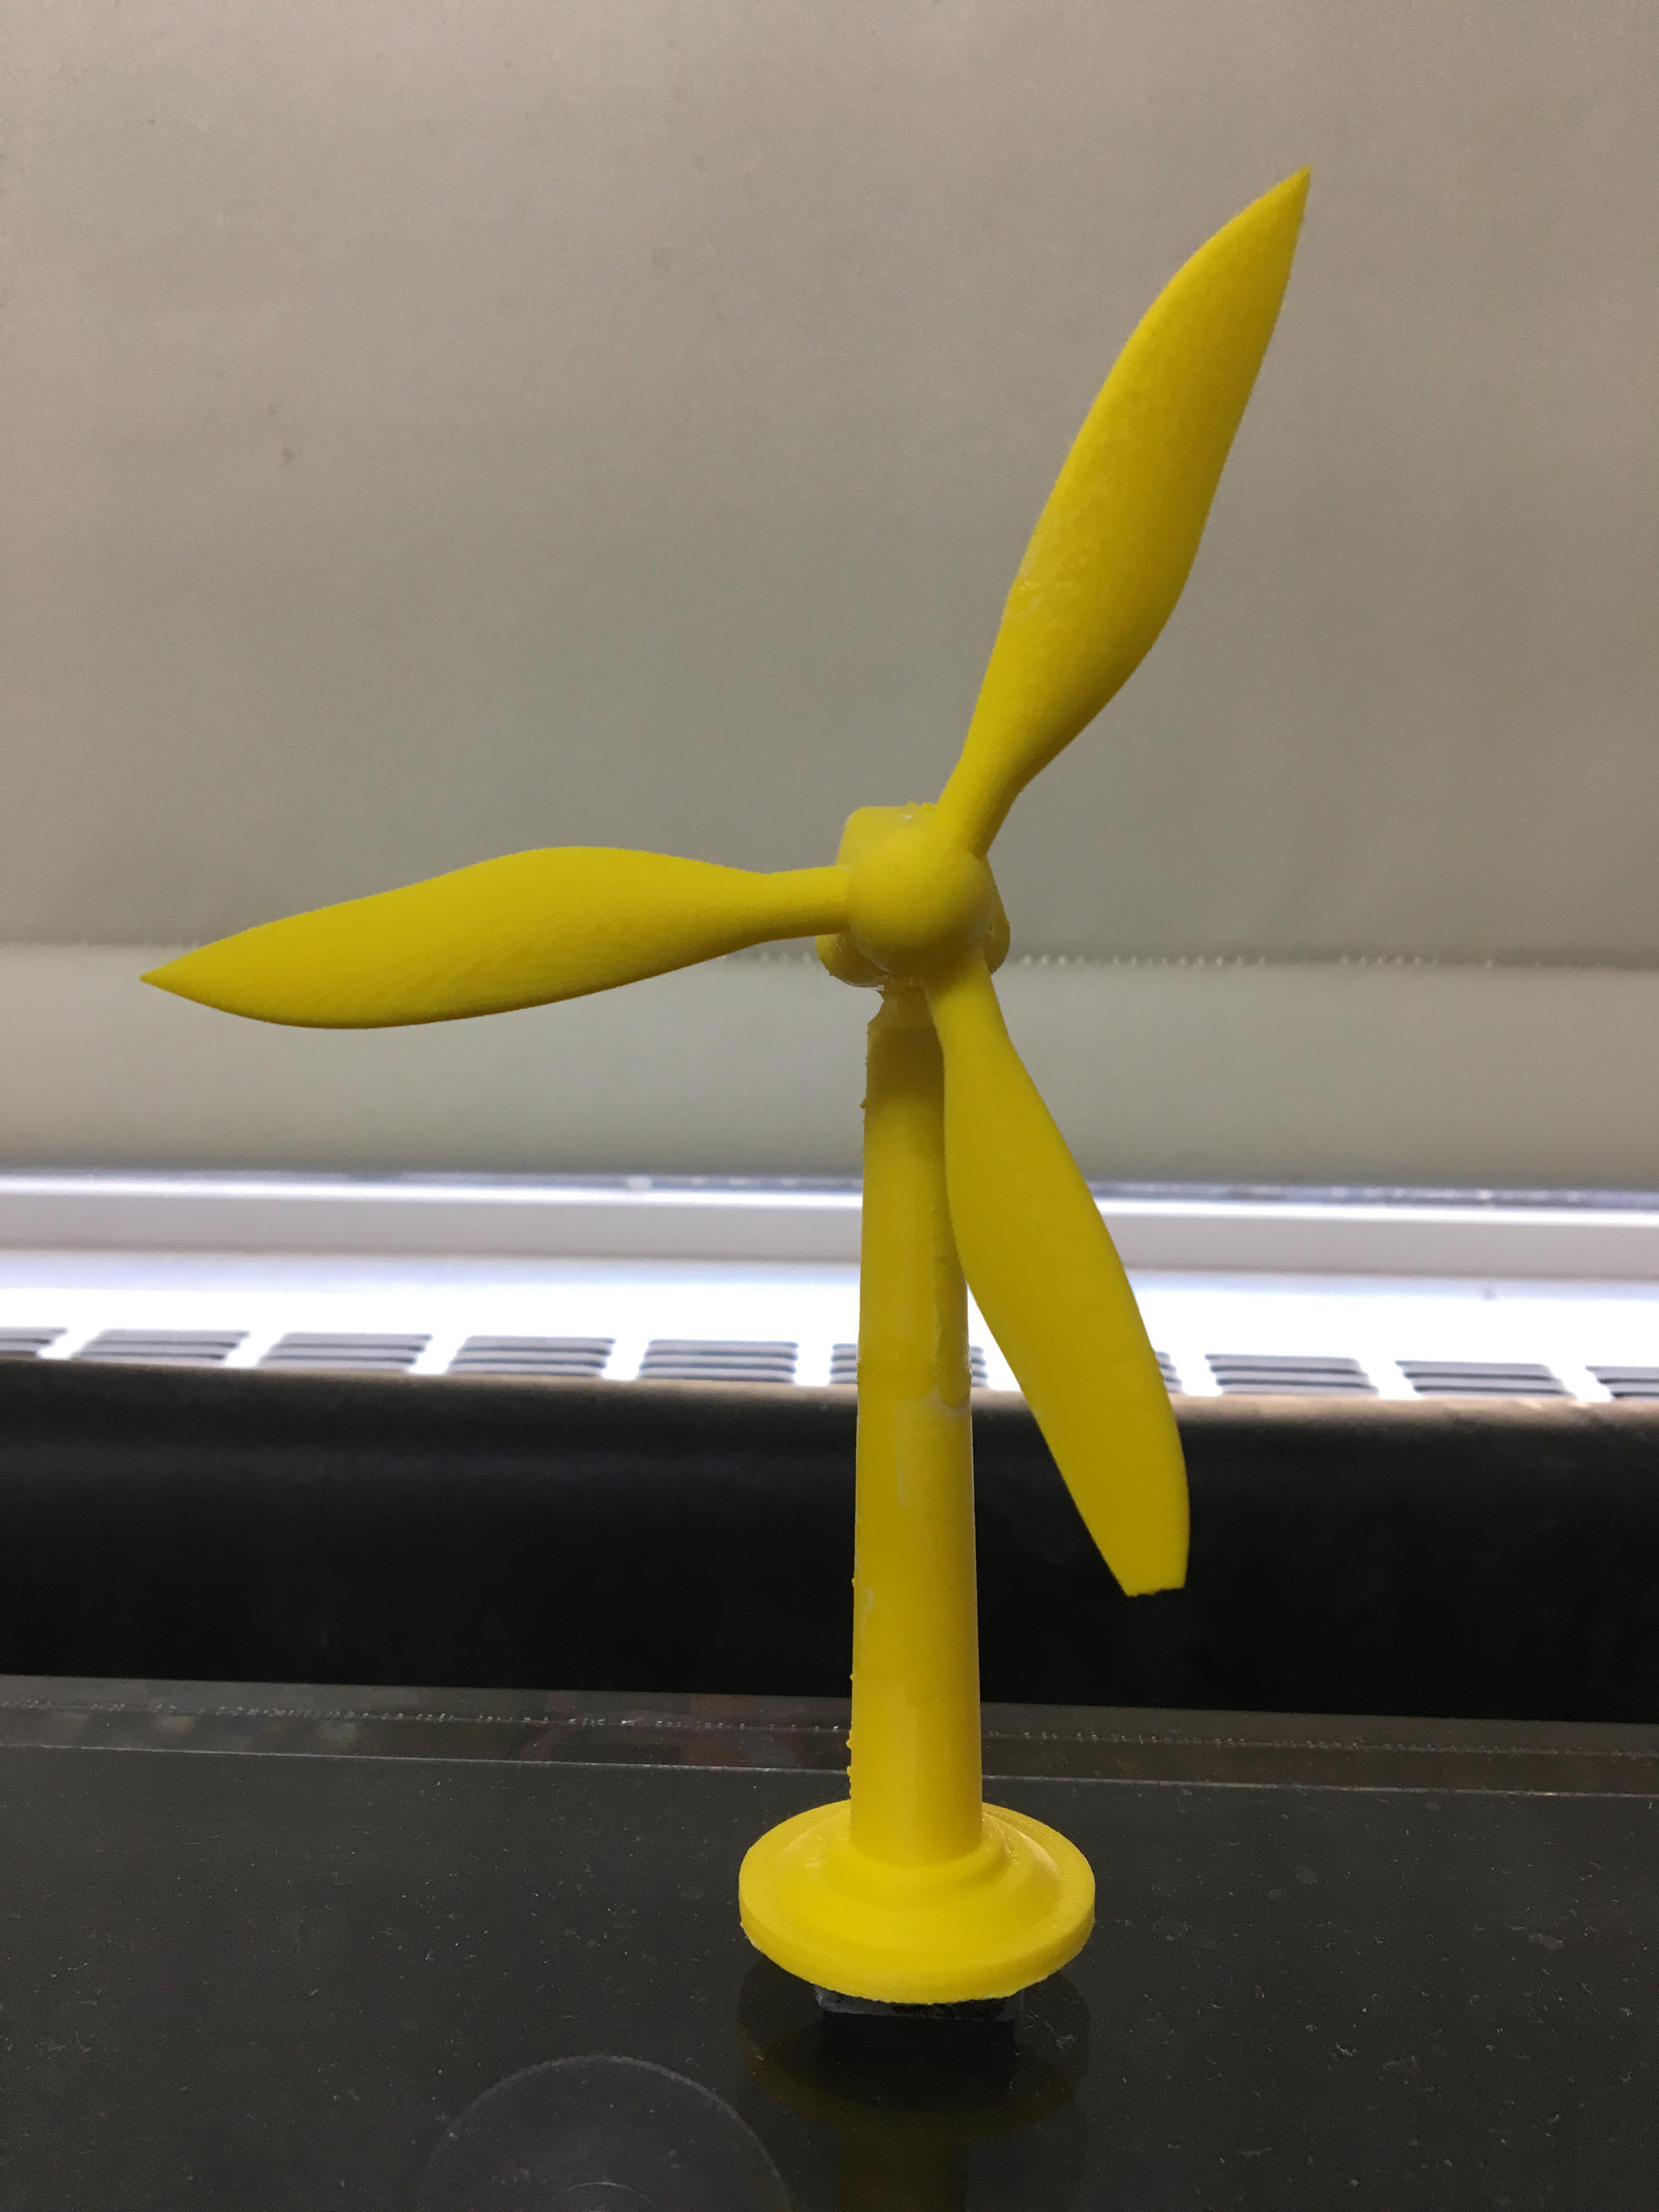
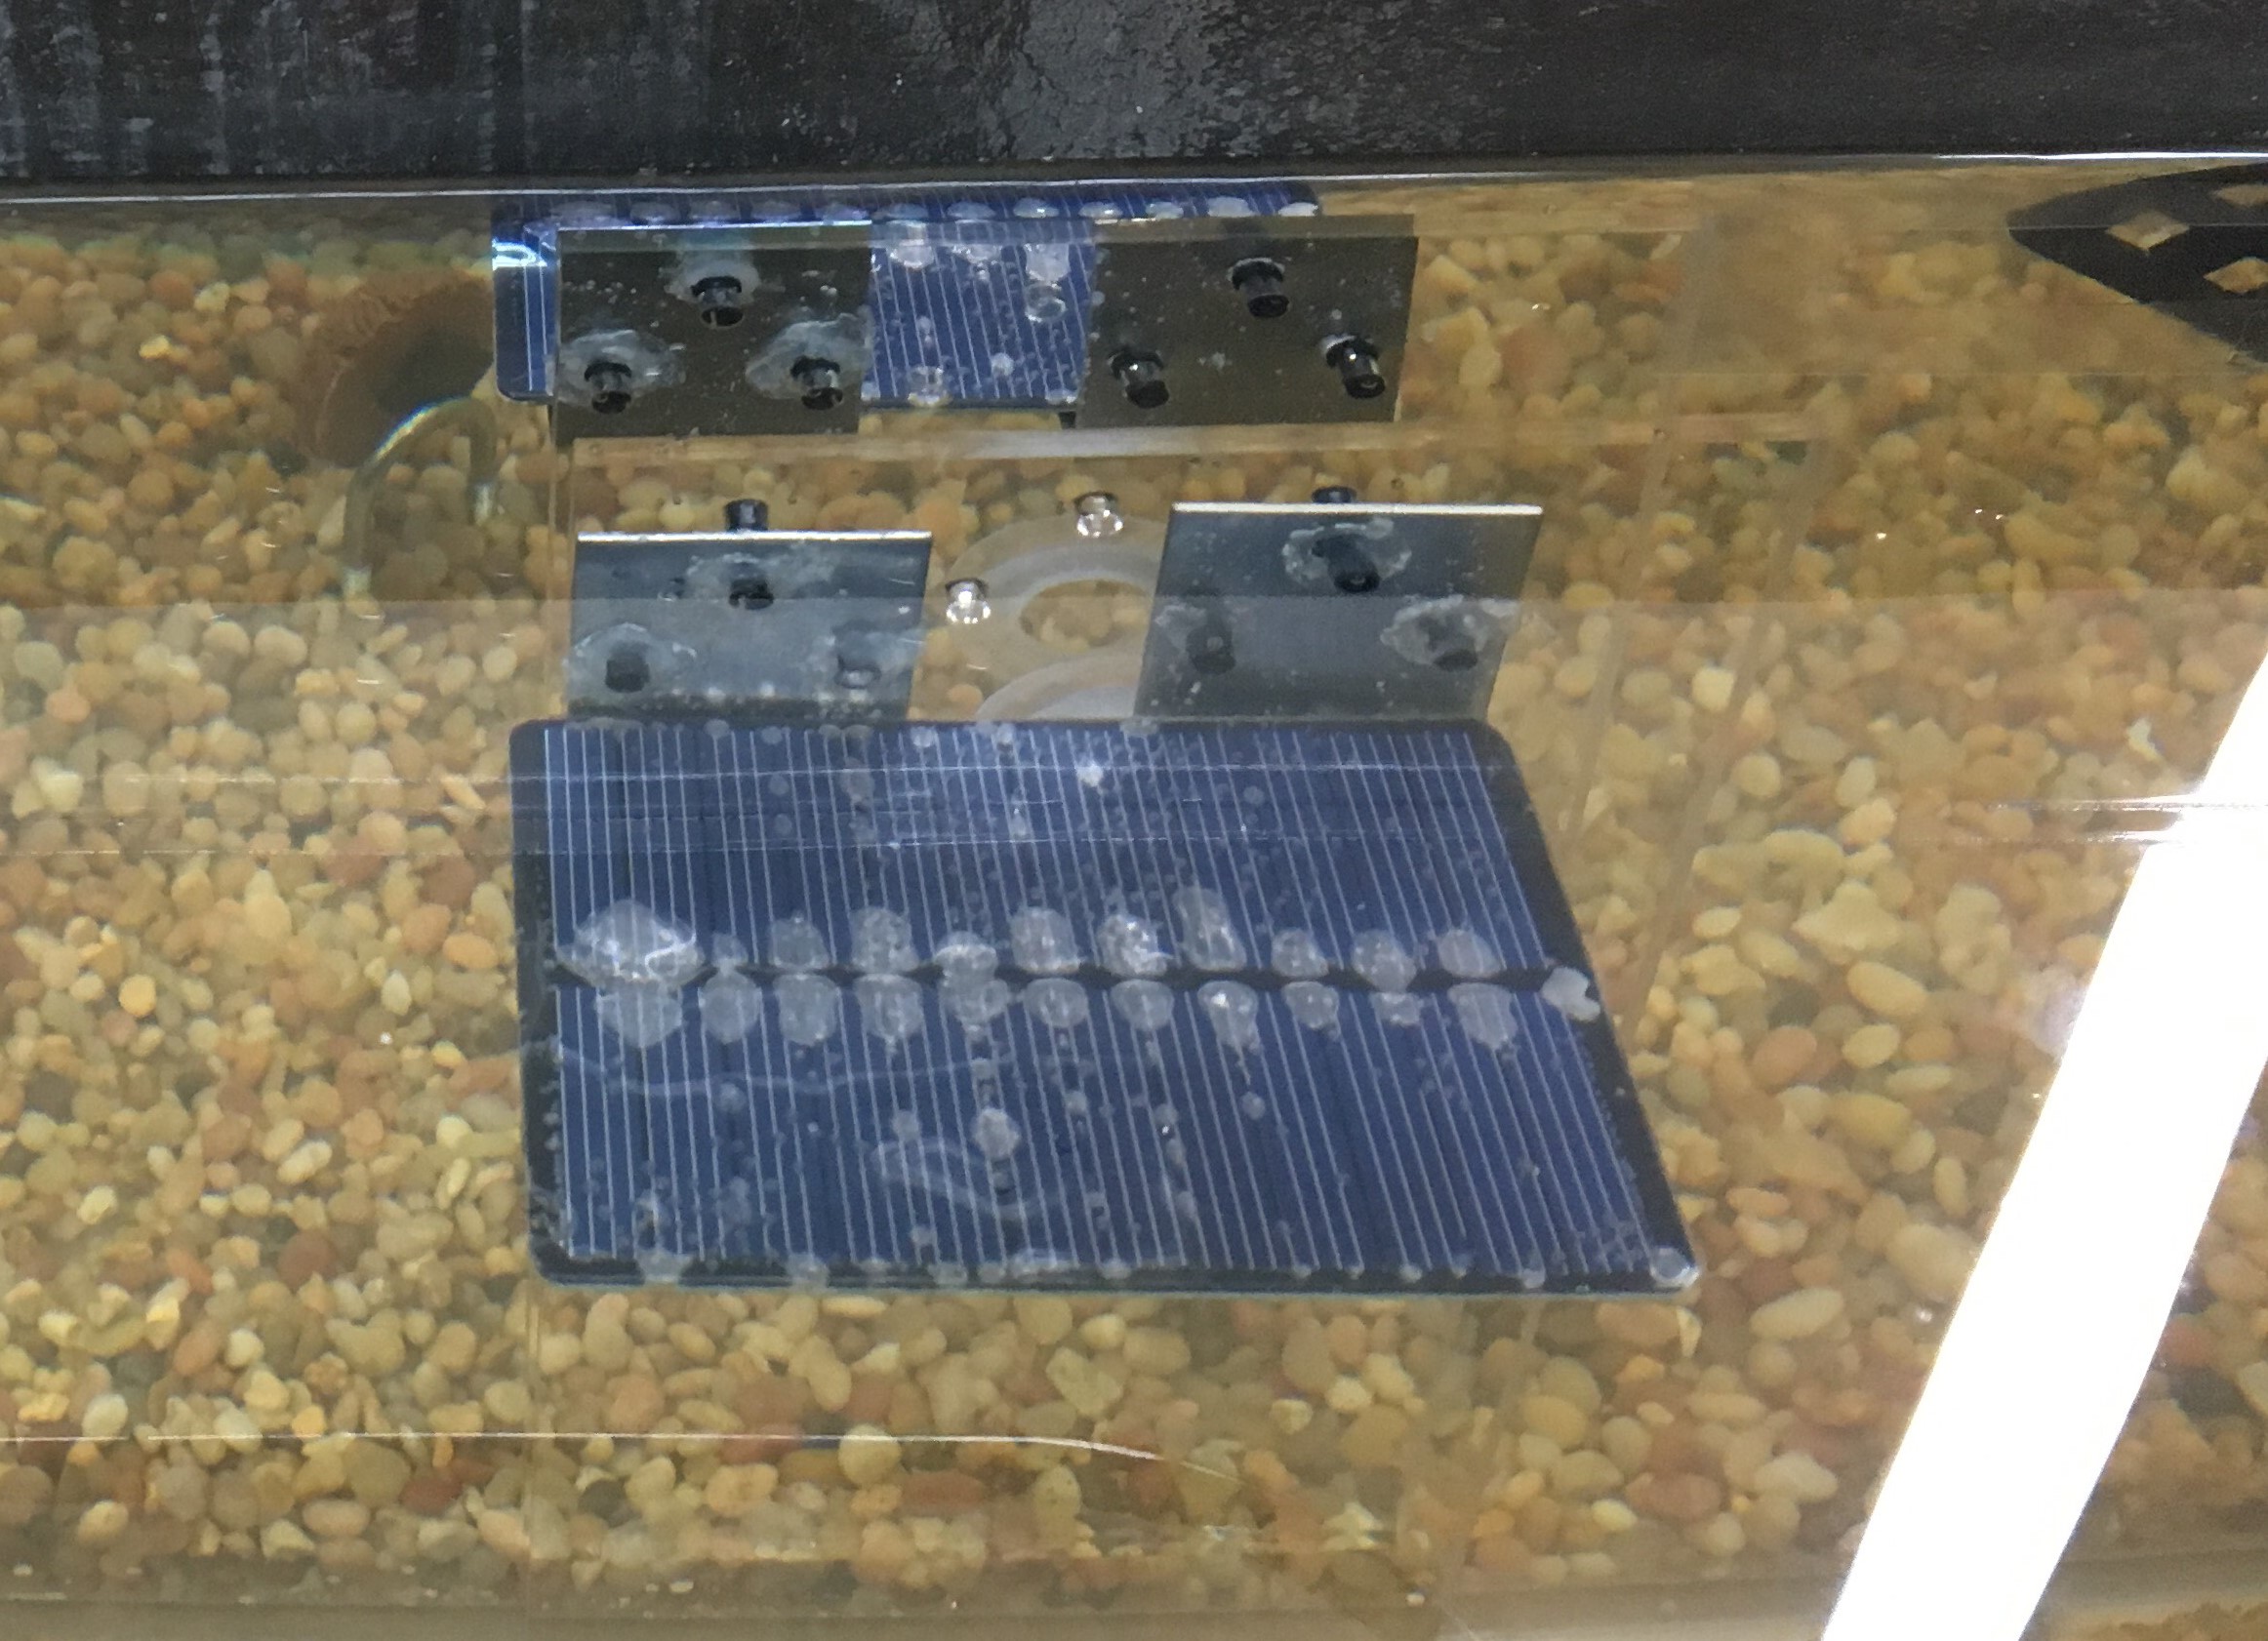
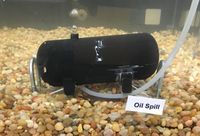
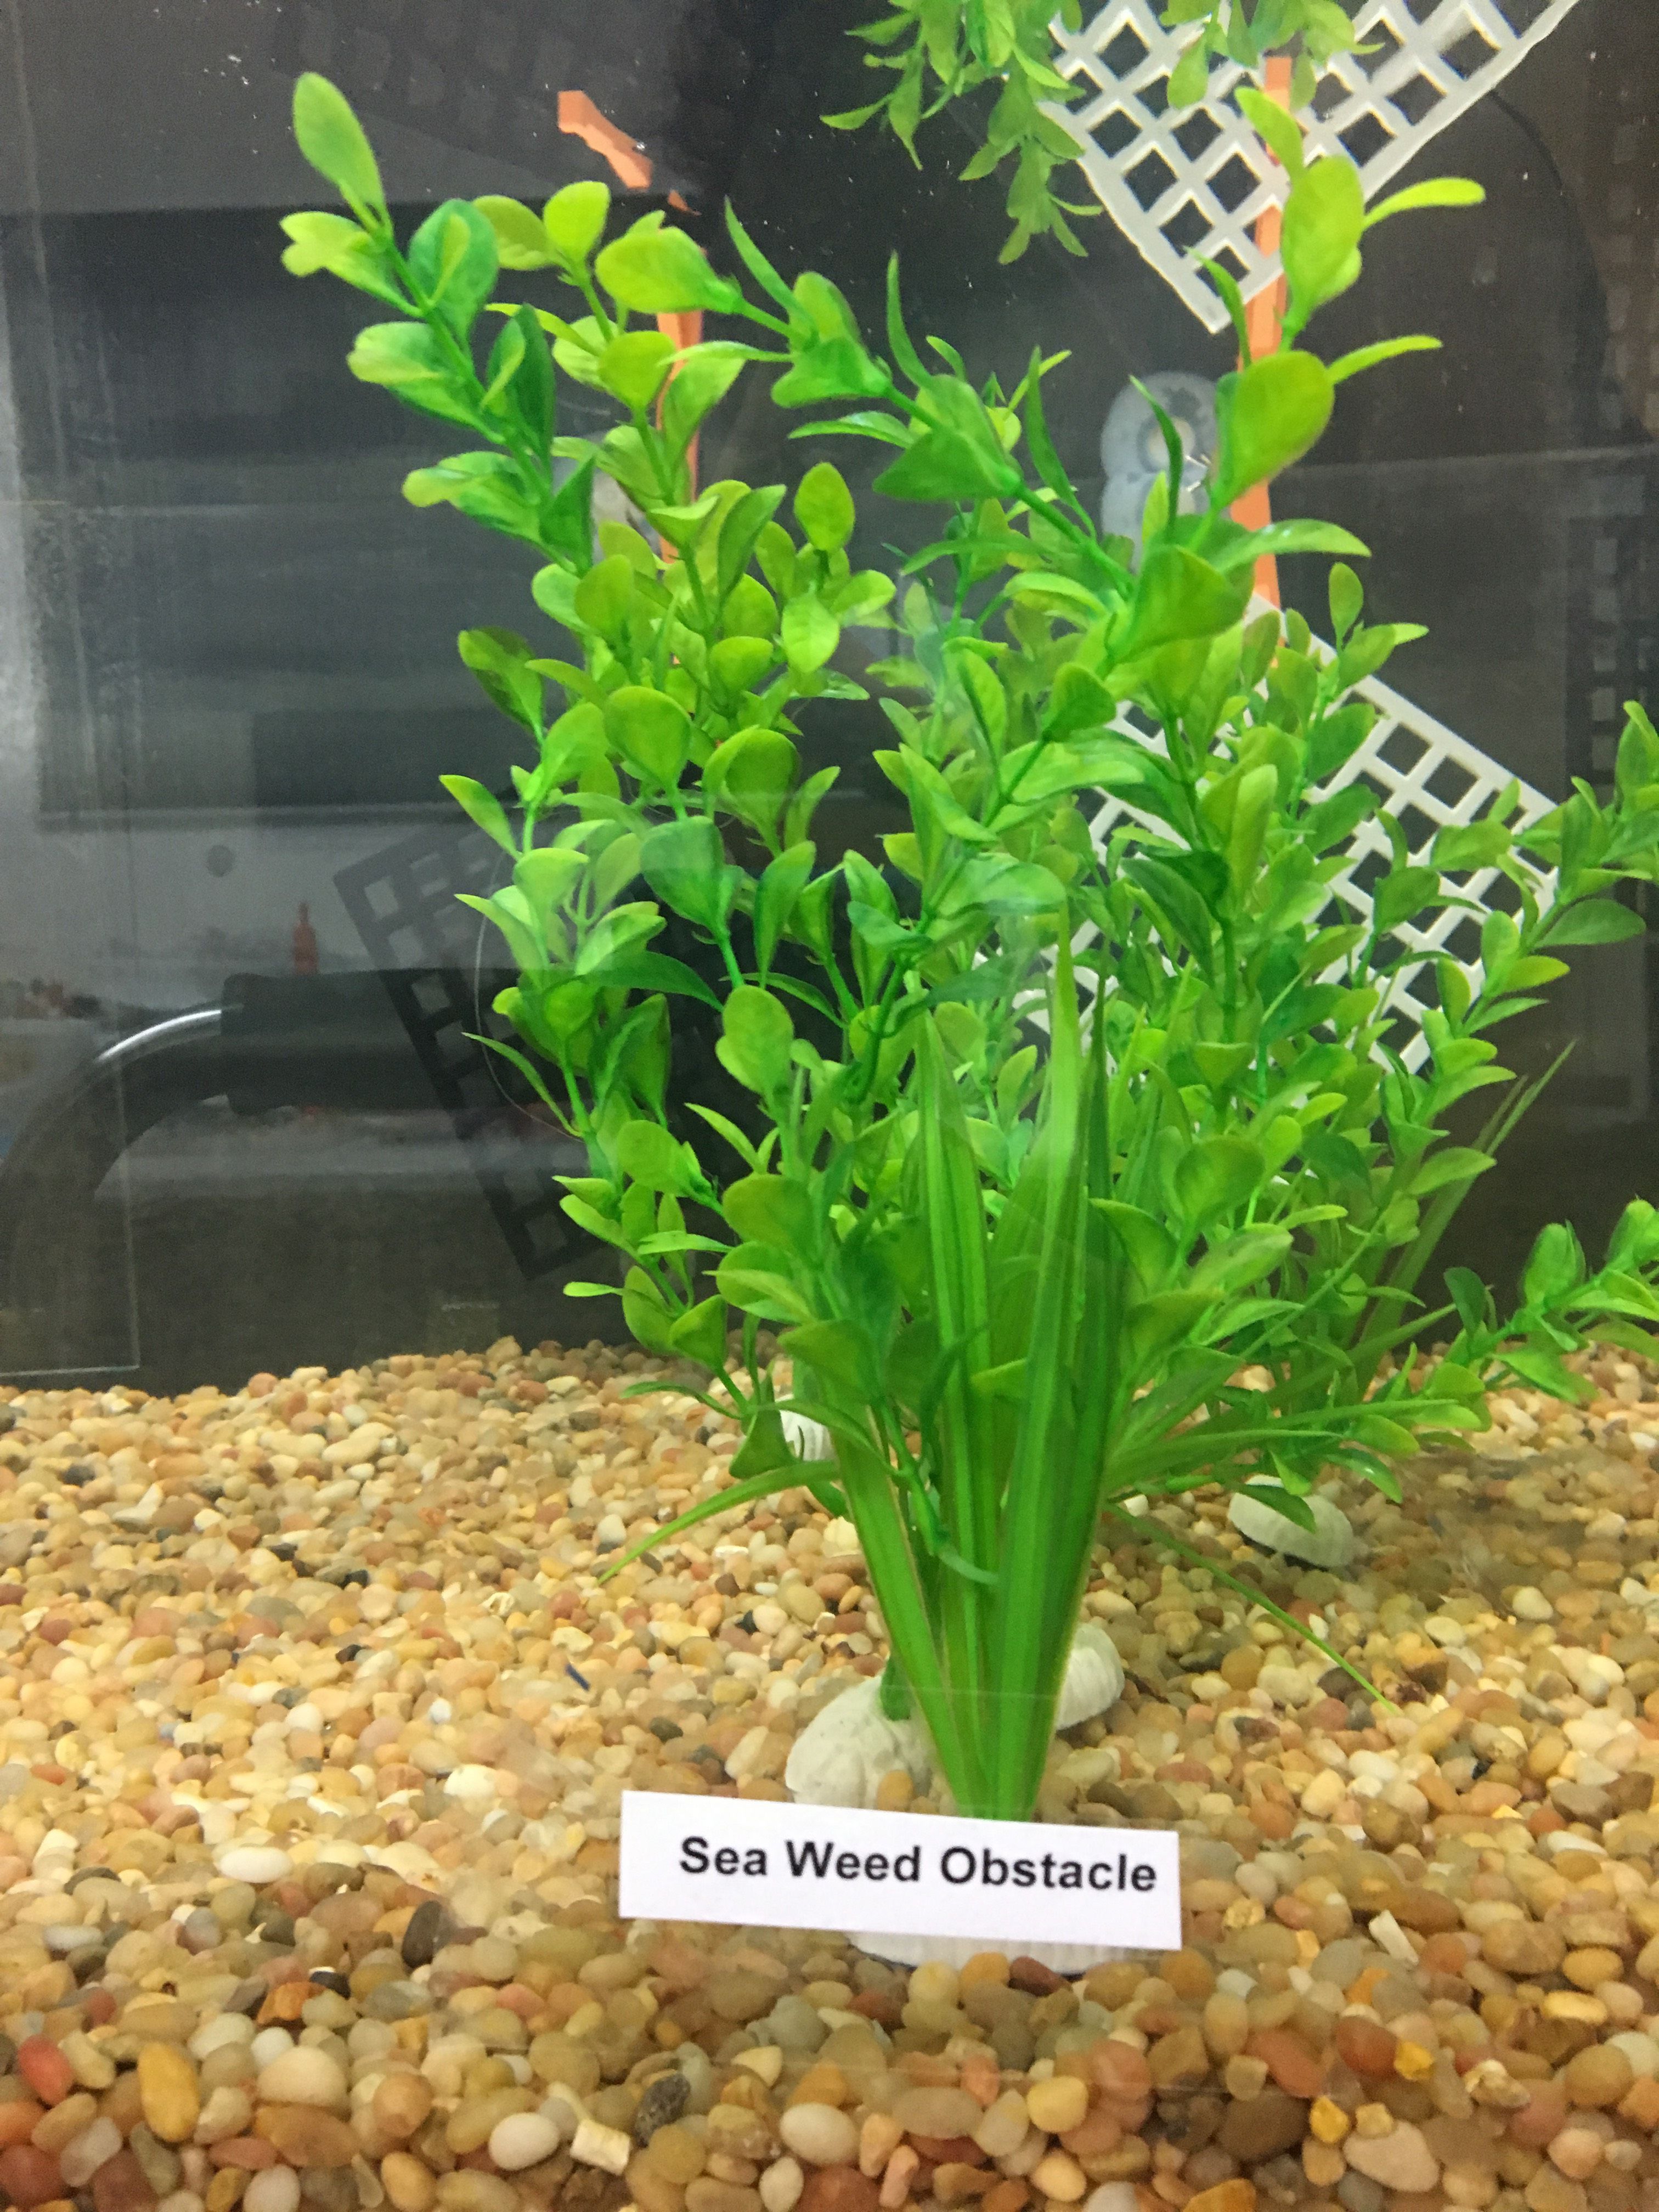
Objects are placed at different locations across the terrain. The completion of each task listed below has a specified point value. Task numbers correspond to the location numbers on this map. Point values are also noted.
AUV TASKS
Other course features
IMPORTANT
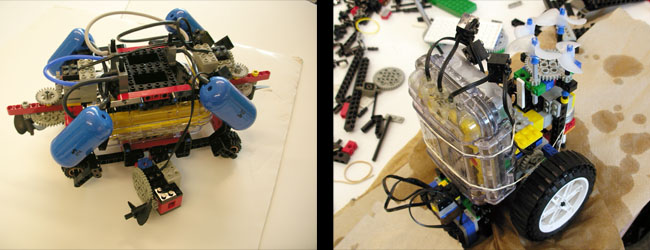
Only the specified waterproofed sensors may be used. The NXT must be enclosed in the modified Pelican case at all times when testing. Tethered robots are allowed but the NXT (inside the modified Pelican case) must be inside the fish tank and not touched by any person. A TA must check and approve your design before your first initial testing.
For tips on how to waterproof your vehicle click here.
The AUV robot may start in any location and depth in the starting zone, however the robot may not be touch any of the field objects during the initial start.
The robot program may not be altered or switched during any part of the mission. Likewise, the robot must be fully autonomous and therefore cannot be touched by any person during testing.
If at any point water is spilled onto the NXT, power down the NXT and remove the battery pack or its batteries. DO NOT turn the NXT on again. Contact a TA immediately and they will perform the necessary procedure to preserve the electronic device from damages.
For safety reasons the use of the AC adapter is strictly prohibited for the AUV project while in the room 573A. The AC adapter is connected directly to a 120V AC source that could lead to serious injury if contacted with water. Also only the specified waterproofed sensors and cases may be used in the test tank.
Please Note:
Some areas of the AUV navigation field are smooth; other areas have obstructions. The objects and landscape are constructed out of LEGO pieces. Any robot that intentionally damages the course, or deemed unsafe for the aquarium will not be allowed to be tested.
During the competition, the instructors or your TA will make all judgments as to the successful completion of tasks. Protests will not be considered.
Creativity and innovation are always rewarded. Original designs will receive extra credit.
Project Schedule
A project schedule must be created in Google Sheets. Please refer to the template provided in your team Google Drive folder and our guide.
This schedule must include all tasks related to the project from the start of the project to Early or Final submission. The project schedule should include:
- Minimum of 20 tasks, excluding Milestones
- Milestones should be clearly indicated on the project plan (duration of zero days)
- Each task must include the person responsible for completing the task (resource names)
- Gantt chart must be displayed alongside the tasks list (fit onto one slide)
- Gantt chart must show a progress line
- Clearly state during the presentations whether the project is on-time, behind schedule, or ahead of schedule
- In milestone presentations, please present a “Project Status” slide, which should summarize key deadlines. You are not required to show your project schedule in these presentations
DRAWINGS
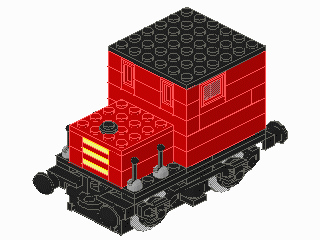
All drawings and sketches should be made using MLCad or Lego Digital Designer.
Create four drawings of your robot: front, top, most detailed side, and a drawing of your gear trains. Sensors, motors, and gears must be included in each drawing. If your robot does not use any gears, make sure to explicitly state that during your presentations.
Each revision of your design must be documented and all changes must be presented during milestone presentations.
MODEL
You must build a scale model (1:1) of your design. The following materials will be provided:
- Mindstorms kit
- One NXT/EV3
- Waterproof Sensors
- Motors
- Waterproof Pelican case
The finished AUV must fit inside a 1' × 1' × 1' box. Any other components that the AUV uses, such as a tether, must also fit within this box.
***Additional weights (ballast) and floatation devices (Styrofoam, air tanks) are allowed, but must be provided by the student, all additional materials must be deemed acceptable by either the professor or the TA, if they are deemed unsafe for the devices or hazardous to the course, they must be immediately removed before any additional testing is permitted.
Additional materials can be supplied by your TA.
COST ESTIMATE
Once a robot design is complete, a cost estimate must be generated that specifies the cost of all the materials and labor required for the construction of your design. Tabulate this cost information clearly in an Excel spreadsheet, using the materials cost list provided. You can get help in calculating the cost by reviewing How to plan the schedule and calculate costs for a project. The costs for the parts can be found on the Price list for Lego parts for robot projects.
Note: You should only use the materials contained in the Price list for Lego parts for robot projects. If you want to use other parts, get permission from your faculty member to do so, and also to determine the cost of the parts you want to use that are not in this price list.
Create a cost estimate on a Microsoft Excel spreadsheet. The cost estimate should include the following:
- Labor cost breakdown with labor hours and labor rates.
- Consolidate low-cost pieces: axles, beams, bricks, bushings, connectors, gears, plates, etc.
- Itemize high-cost pieces: controllers (NXT/EV3), sensors, etc.
- No decimal places; this is an estimate after all. Round appropriately.
- Total cost must be shown in the bottom right corner.
MILESTONES AND BENCHMARKS
As you work on your project, you will be required to present periodic reports on your progress. We call these Milestones. All the items assigned in each Milestone are called deliverables. These deliverables often consist of a combination of written submissions, presentations, and demonstrations.
Milestone 1
Prepare a preliminary sketch of your design, a cost estimate, and an MS Project plan.
Look Ahead: What tasks do you plan between now and Milestone 2?
Milestone 1 Deliverables:
- Presentation:
- Project description
- Design approach
- Mission statement
- Preliminary sketch
- Cost estimate
- MS Project schedule
- Progress update: current state of the project
Note: Whenever you revise your drawing(s), your cost estimate, or your MS Project plan, you must include the initial drawing, the initial cost estimate, or the initial MS Project plan, in addition to the revision.
Benchmark Assessment A
Benchmark assessments evaluate the progress of your project. To pass, the design must complete all of the following:
- Earn at least 25 points.
Benchmark Assessment A is due at the end of Model Shop Session 1. There are penalties for not completing on time. Refer to the EG1003 Grading Policy for more information.
Milestone 2
Using MLCad or Lego Digital Designer, prepare four views of your latest design: front, top, most detailed side, and an isometric drawing. Also, create a drawing of your gear trains. Complete your latest Mindstorms program and your latest MS Project plan reflecting any schedule changes. Finally, calculate a revised cost estimate.
Look Ahead: What tasks do you plan between now and Milestone 3?
Milestone 2 Deliverables:
- Presentation:
- Project description
- Design approach
- Design changes since Milestone 1
- Mission statement
- CAD drawings: top, front, most detailed side, isometric, gear train
- Mindstorms program
- Cost estimate (previous and current). What changes were made?
- MS Project schedule (previous and current). What changes were made?
- Progress update: current state of the project (time, budget, etc.)
Benchmark Assessment B
To pass, the design must complete all of the following:
- Earn at least 60 points.
Benchmark Assessment B is due at the end of Model Shop Session 2. There are penalties for not completing on time. Refer to the EG1003 Grading Policy for more information.
Milestone 3
Using MLCad, prepare four views of your latest design: front, top, most detailed side, and an isometric drawing. Create an MLCad drawing of your gear trains. Complete your latest Mindstorms program and your latest MS Project plan reflecting any schedule changes. Finally, calculate a revised cost estimate. A Benchmark Assessment B Form must be electronically signed by a TA on eg.poly.edu.
Look ahead: What tasks do you plan between now and the completion of the project?
Milestone 3 Deliverables: A copy of your presentation slides that includes four views of your design using MLCad: front, top, most detailed side, and an isometric drawing; an MLCad drawing of your gear trains; your Mindstorms program; a revised cost estimate; your revised MS Project plan; and your Benchmark Assessment B Form electronically signed by a TA on eg.poly.edu.
Note: Whenever you revise your drawing(s), your cost estimate, or your MS Project plan, you must include the initial drawing, the initial cost estimate, or the initial MS Project plan, in addition to the revision.
Commissioning
To pass, the design must complete all of the following:
- Earn at least 100 points.
Refer to the syllabus for the commissioning deadline. There are penalties for not completing on time. Refer to the EG1003 Grading Policy for more information.
FINAL PRESENTATION
The final presentation will be a technical briefing, similar to the milestones, but also serves as a sales presentation explaining why your company should be selected instead of the competition. Please include the following:
- Problem statement
- Solution overview
- Company description and qualifications
- Drawings
- Mindstorms program
- Cost estimate
- Microsoft Project schedule
- Video demonstration
- Why should the company be awarded this contract?
FINAL SUBMISSION
Your project should be submitted as a folder containing the following deliverables:
- Printout of Benchmark Assessment A statement from eg.poly.edu
- Printout of Benchmark Assessment B statement from eg.poly.edu
- Printout of Commissioning statement from eg.poly.edu
- Hardcopy and CD/DVD/USB containing:
- Final presentation
- Cover page and table of contents.
- Final Mindstorms program
- Initial sketch
- All the drawings of your design (initial through final)
- Video
- Final MS Project Schedule
- Final cost estimate
- Resume(s) (No fictitious resumes will be accepted.)
EARLY ACCEPTANCE
If you submit your project one week early, you are eligible for a bonus that will be added to your final semester-long project grade. You must submit all deliverables one week before the submission deadline (see syllabus for exact date). To submit early, all required information on the form titled Project Submission Form, found on the EG web site, must be approved, accepted, and signed by a TA. The deliverables received early are the ones you will use in your presentation. No adjustments to the deliverables submitted will be accepted.
LATE DELIVERY
If you do not complete all your deliverables and do not commission by the deadline set forth in the syllabus, you will not receive full credit for commissioning. Please refer to the EG1003 Grading Policy for more information. Return to Table of Contents

