Difference between revisions of "Summer 2011 Project Configurations"
From EG1004 Lab Manual
(Created page with 'Displayed below are pictures of the Summer 2011 configurations of the Bomb Disarming Robot, Search & Recovery Robot, Disaster Relief Robot, and Retrieval and Delivery System Seme…') |
|||
| (3 intermediate revisions by the same user not shown) | |||
| Line 2: | Line 2: | ||
== Bomb Disarming Robot (BDR) == | == Bomb Disarming Robot (BDR) == | ||
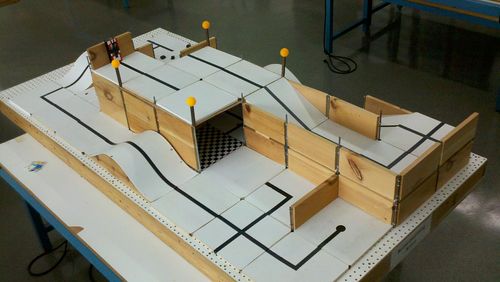
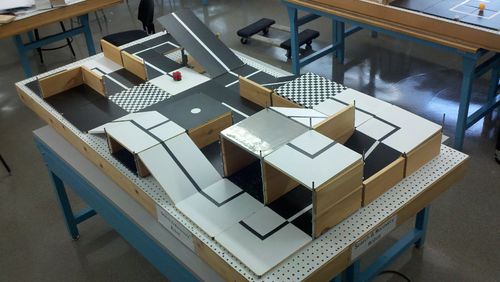
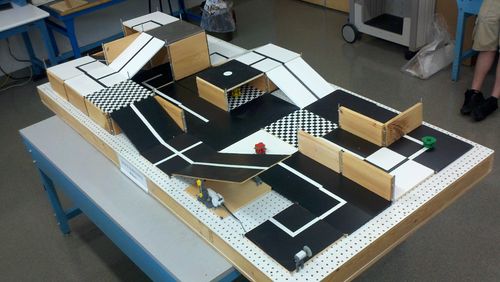
[[Image: | [[Image:Su11BDRd1.jpg|thumb|left|500px|Course Overview of Day Version]] | ||
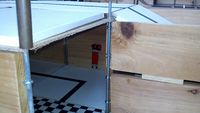
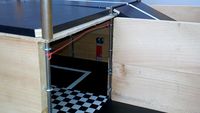
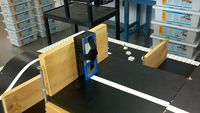
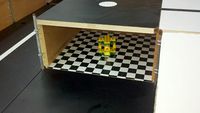
[[Image: | [[Image:Su11BDRd2.jpg|thumb|right|200px|Location of Decoy Bomb in Tunnel]] | ||
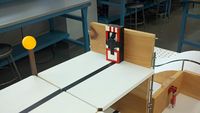
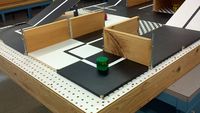
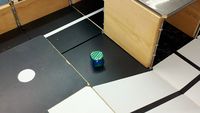
[[Image: | [[Image:Su11BDRd3.jpg|thumb|right|200px|Disarm Button]] | ||
[[Image: | <br style="clear: both;" /> | ||
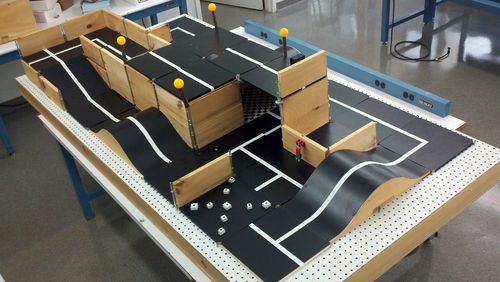
[[Image: | [[Image:Su11BDRn1.jpg|thumb|left|500px|Course Overview of Night Version]] | ||
[[Image: | [[Image:Su11BDRn2.jpg|thumb|right|200px|Location of Decoy Bomb in Tunnel]] | ||
[[Image:Su11BDRn3.jpg|thumb|right|200px|Disarm Button]] | |||
<br style="clear: both;" /> | <br style="clear: both;" /> | ||
== Search & Recovery Robot (SRR) == | == Search & Recovery Robot (SRR) == | ||
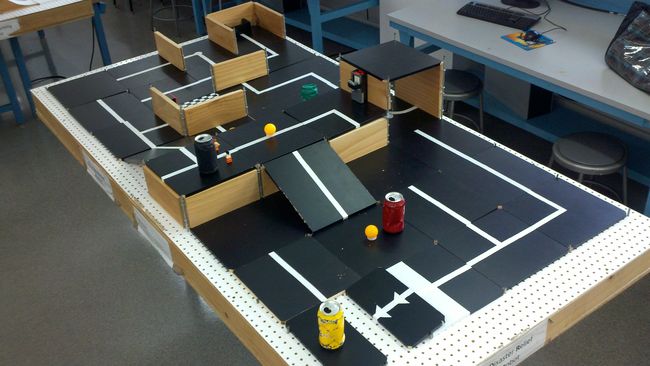
[[Image:Su11SRR1.jpg|thumb|left|500px|Course Overview]] | [[Image:Su11SRR1.jpg|thumb|left|500px|Course Overview]] | ||
[[Image: | [[Image:Su11SRRg.jpg|thumb|right|200px|Location of Zarya (Power Supply)]] | ||
[[Image: | [[Image:Su11SRRy.jpg|thumb|right|200px|Location of Unity (Node 1)]] | ||
[[Image:Su11SRR2.jpg|thumb|left|500px|Course Overview]] | |||
[[Image:Su11SRR4.jpg|thumb|right|200px|Location of Quest (Joint Airlock)]] | [[Image:Su11SRR4.jpg|thumb|right|200px|Location of Quest (Joint Airlock)]] | ||
[[Image: | [[Image:Su11SRRr.jpg|thumb|right|200px|Location of Pirs (Docking Compartment)]] | ||
<br style="clear: both;" /> | <br style="clear: both;" /> | ||
== Disaster Relief Robot (DRR) == | == Disaster Relief Robot (DRR) == | ||
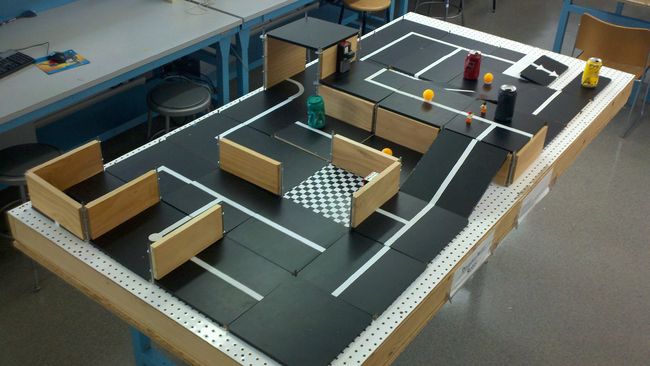
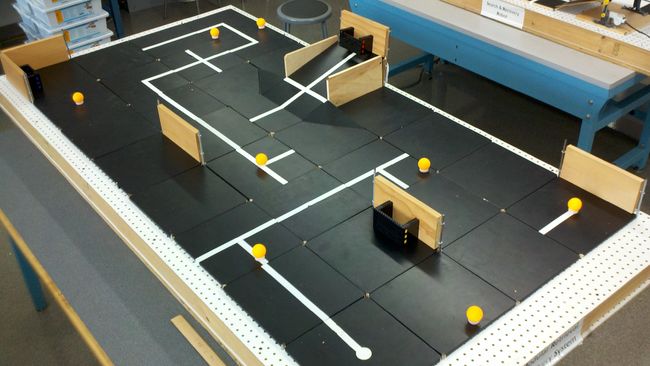
[[Image:Su11DRR.jpg|thumb| | [[Image:Su11DRR.jpg|thumb|left|650px|Course Overview]] | ||
[[Image:Su11DRR2.jpg|thumb|right|650px|Course Overview]] | |||
<br style="clear: both;" /> | |||
== Retrieval and Delivery System (RDS) == | == Retrieval and Delivery System (RDS) == | ||
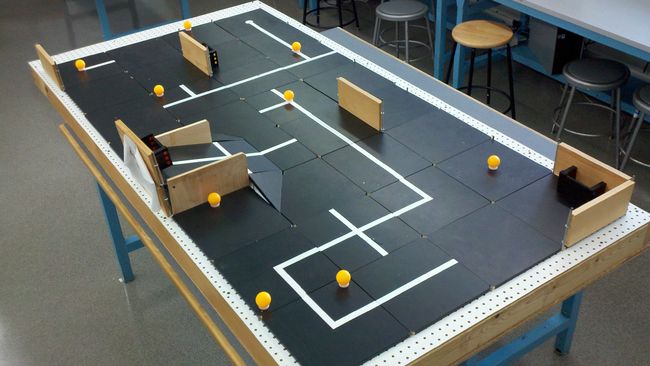
[[Image: | [[Image:Su11RDS1.jpg|thumb|left|650px|Course Overview]] | ||
[[Image:Su11RDS2.jpg|thumb|right|650px|Course Overview]] | |||
<br style="clear: both;" /> | |||
{{Semester-Long Design Project}} | {{Semester-Long Design Project}} | ||
Latest revision as of 01:16, 16 July 2011
Displayed below are pictures of the Summer 2011 configurations of the Bomb Disarming Robot, Search & Recovery Robot, Disaster Relief Robot, and Retrieval and Delivery System Semester-Long Design Projects.
Bomb Disarming Robot (BDR)
Search & Recovery Robot (SRR)
Disaster Relief Robot (DRR)
Retrieval and Delivery System (RDS)
| ||||||||
